You’ve built a product. Now you need a short video that shows what it does and makes people want it — the kind of polished explainer that usually comes with a four-figure invoice from a production studio.
You can make it yourself. I did, as a software engineer with zero video-editing background, and this guide is the playbook I wish I’d had. It works whether or not you’re technical, but it leans into approaches that are friendly to people who’d rather write code than drag clips on a timeline.
One promise up front, because it’s the most expensive lesson in here: don’t try to automate your product-demo capture. I’ll explain exactly where that goes wrong and what to do instead. It’s Step 6, and it’s the part most guides skip.
Step 1 — Write the script first. All of it.
The script is the spine. Everything — timing, visuals, on-screen text — hangs off it, so write it before you touch any visual tool.
- Open with pain, not features. "Every business handles documents differently" describes nobody. "Documents and more documents. Search after search. Still hoping you guessed the right words" makes someone nod. Start where your viewer hurts.
- Research real pain points. Skim what people actually complain about in your space (support threads, "problems with X" blog posts) and steal the language they use.
- One idea per scene. If a scene needs "and," it’s probably two scenes.
- Read it out loud. If you stumble saying it, the voiceover will too.
Write the full narration top to bottom and don’t move on until you’d be happy hearing it. Rewriting the script after you’ve animated to it is the most painful, rippling kind of rework there is.
Step 2 — Choose your tooling
Pick based on who you are:
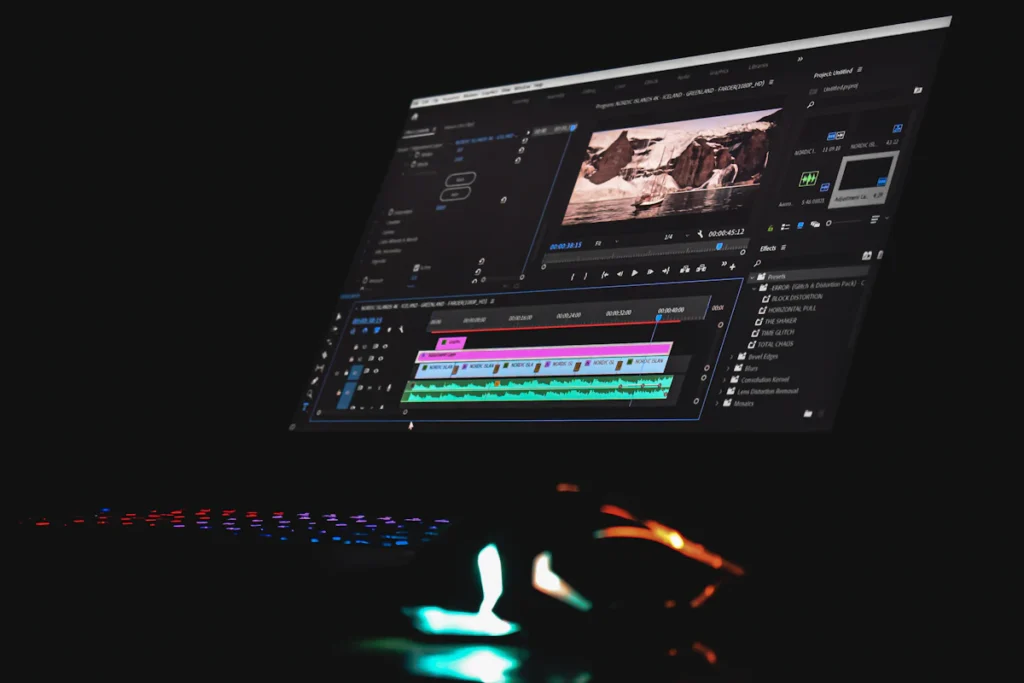
- If you’re a developer: use Remotion — you write the video as React components, frames are functions of time, and the whole thing lives in version control. Changes are diffs; renders are reproducible. This is what I used and it let me stay in a code mental model instead of learning an editor.
- If you’re not: a timeline editor (Descript, CapCut, Premiere, or even Canva for simpler pieces) will get you there. The process in this guide still applies; only the scene-building step changes.
The rest of this guide assumes a code-based approach but flags where a timeline editor differs.
Step 3 — Generate the voiceover, and make it your single source of truth
Unless you love your own recorded voice and have a good mic, use neural text-to-speech. Modern TTS voices are convincing, and — crucially — they’re editable. Change a word, regenerate, done.
The architectural trick that will save you hours: make one place own both the words and the timing.
- ›Keep your script text and each scene’s start/end timing in a single config (I used one script file that holds both).
- ›Running it generates the audio clips and writes out the timing your video consumes.
- ›Treat that generated timing as read-only — never hand-edit it. Edit the source, regenerate.
Generate one audio clip per scene, each anchored to its scene’s start. Per-scene clips stop the whole track from drifting out of sync when you retime a single scene. (In a timeline editor, the equivalent is: keep each scene’s VO as its own clip locked to that scene’s start, not one long track for the whole video.)
Step 4 — Storyboard scenes and build a timing table
Before building, list your scenes with frame numbers (or timestamps). A simple table is enough:
| Scene | Starts at | Length |
|——-|———–|——–|
| Intro | 0:00 | ~10s |
| Feature A | 0:10 | ~6s |
| … | … | … |
This is your contract. It tells you how long each VO clip can be and where each scene begins. Keep it next to the script.
Step 5 — Build the scenes (text, motion, layout)
Now make each scene. A few principles that punch above their weight:
- Animate text in sync with the voiceover, not before it. On-screen words should appear as they’re spoken, never ahead. Text that arrives early reads as a teleprompter; text that lands on the word reads as production value.
- Keep all styling inline / self-contained if you’re in a code framework — some renderers choke on external stylesheets.
- Use spring/ease motion, not linear. Things that ease in feel designed; things that move at constant speed feel robotic.
- Lock a palette before you start. Decide which color means which feature and apply it consistently. Inconsistent accent colors are the fastest way to look amateur, and they’re nearly invisible to you while you’re making them — enforce the rule deliberately.
Step 6 — Capture the product demo (don’t automate this)
Here’s the part I most want you to get right, because I got it wrong first.
Your features only sell when people see them actually working. So you need clean screen recordings of your real product performing each action: the search, the result, the click, the highlight.
My engineer instinct was to automate the capture — script a browser to perform each action perfectly and record reproducible footage. I spent serious time on this: getting a real browser running in my dev environment, driving it with automation, trying to capture the output cleanly. It was a trap. Between environment setup, smooth playback, correct sizing, and natural pacing, automated capture cost far more than the footage was worth and never produced anything I’d ship.
What actually worked: I recorded my own actions against the running product and dropped the clips in. It took an afternoon. Do this from the start:
- ›Record at the exact resolution your scenes expect. I needed 1440×900; recording at the wrong size meant distortion when it was placed in the scene. Match your target dimensions and you avoid letterboxing surprises.
- ›Move deliberately. Slow, intentional cursor movement and pauses on the important result read far better than fast, real-speed clicking. You can always speed a clip up later; you can’t add calm back.
- ›Record more than you need. Extra seconds at the head and tail give you room to trim to the beat of the voiceover.
- ›Clean the screen. No notifications, no personal bookmarks, realistic-but-tidy demo data.
- ›One action per clip. Separate files per feature are far easier to place and re-time than one long take.
If a clip ends up shorter than its scene, slow it down to fill the time rather than letting it loop — a visibly repeating demo is an instant tell.
Step 7 — Composite the demo into your scenes
Drop each recording into its scene inside a framed panel (a subtle border, rounded corners, a soft shadow) so it reads as "a product," not "a raw screen grab." Make sure the panel’s aspect ratio matches your recording’s so nothing stretches.
Step 8 — Direct the viewer’s attention
Product UIs are dense. Don’t make the viewer hunt for the point.
- Spotlight, don’t zoom. I tried a slow Ken Burns zoom and it looked cheap. What worked: a glowing ring around the active element plus a vignette dimming everything else, moving in sequence through the steps (search bar → results → the highlighted answer). It guides the eye and feels premium.
- Annotate precisely. Callout boxes with arrows pointing to exact spots ("Verify citation →") add clarity. If you’re in code, read coordinates straight from your preview tool and place annotations exactly — no eyeballing.
Step 9 — Add music and duck it
A bed of background music lifts everything. Two rules:
- Keep it low — it should be felt, not heard over the narration.
- Duck it under the voice. Automatically dip the music volume while someone’s speaking and bring it back up in the gaps. This one move separates "has music" from "sounds produced."
Step 10 — Sync, review, and tighten the pacing
Watch the whole thing and ruthlessly check:
- ›Does every on-screen word appear with its narration?
- ›Does any audio clip loop or get clipped? (If you’re previewing in a tool, confirm its own loop setting is off before you debug your composition — I wasted hours blaming my code for the player’s repeat toggle.)
- ›Is there dead air after a line ends? Trim the slack. Long silences after narration are the most common reason an amateur video feels slow.
Step 11 — Render (locally first, then scale up)
Render a full pass locally to review. When you’re happy and want speed or higher quality, push the render to the cloud (Remotion supports rendering on AWS Lambda, for example). Render small test scenes while iterating — only do the full, expensive render when you’re confident.
Step 12 — Iterate on real feedback
Show it to people and act on the specific notes. The feedback that improved mine most wasn’t "make it nicer" — it was "the intro is too generic, start with the pain." Concrete critique beats vague praise. Expect to do a few passes; the script will keep wanting small edits, which is exactly why Steps 1 and 3 (lock the words, single source of truth) pay off here.
The short version
Write the whole script first.
Pick tooling that fits how you think (code → Remotion).
Make one source own both script and timing; generate VO from it.
Storyboard a timing table.
Build scenes; sync text to the spoken word.
Record your product demo by hand — don’t automate it
— at the exact target resolution.
Frame the footage into clean panels.
Direct attention with spotlights and precise annotations.
Add quiet, ducked music.
Trim every silence; verify nothing loops or clips.
Render locally, then scale up.
Iterate on specific feedback.
You do not need a studio, and you do not need to become a video editor. You need a good script, a single source of truth, and the discipline to record your own demo instead of automating it. Everything else is just frames as a function of time.